B.W.T...Link
by the students, for the students
FAQ
Q1: Can I continuously rig BWTLink slides?
A: Yes! Just thread a string through the pulley modules on the slides. You may reference
this video to see an example.
Q2: Can I cascade rig BWTLink slides?
A: Yes! There are holes at the top of each pulley module that are intended for you to tie your strings onto.
You may reference
this video to see an example.
Q3: How do I retract my slides?
A: This depends on how you mount them. If they are vertical, it is viable to have the slides free fall and retract. For other orientations or for better control, you can run a retraction string back in both cascade or continuously rigged slides. The videos above show the retract mounting.
Q4: How many slides can I stack?
A: As much as you want - you are limited by the amount of weight you can withstand and how fast you wish the slides to be.
Q5: My slides are binding. Why? What can I do?
A: The possible reasons for slides binding are:
- The slides’ lubricant has dried up over time/long-term use. Simply clean the remaining traces of the lubricant and newly apply some more.
- There is debris inside the channels that the ball bearings are traveling within. Try to clean the inner and outer slide grooves and see if its better.
If not, take the slide apart and clean the ball bearings a bit - after that it should be good.
- The slide is bent or twisted due to the smash or crash.
-
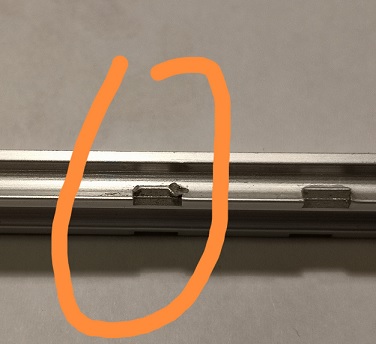
The repeated extension and retraction of slides at a high speed over time wears down the end stop (see image below).
This makes the ball bearings stuck and difficult to roll smoothly as intended. Fortunately, BWTLink's slide is the one and ONLY one that can resolve this binding issue!
Click HERE to read the instruction to fix this issue if you have the old version BL-300-2M.
.
Q6: How do I connect slides together?
A: As all other slides, make use of lowhead countersunk M4 screws. With the pulley models on the side of the slides,
you are able to mount the slides back to back, saving space and adding extra stability. As a result,
6mm M4 screws work the best. You can order our screws in the shop with the slides.
Q7: How do I take a slide apart to clean?
A: With this slide design, it is easy to take stuff apart. Simply unscrew 4 nuts on back end,
remove those screws, and then you can pull the inner slide out.
Q8: How to stack slides and rig continuously?
A: Please read this article
Stack and Rig Continuously.
Q9: How to secure Gear on shaft with setscrew?
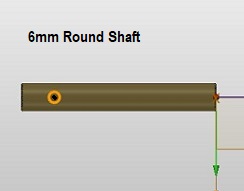
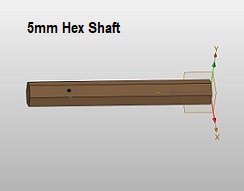
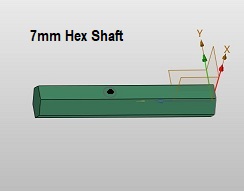
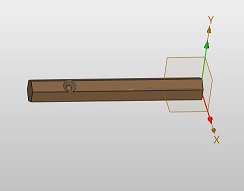
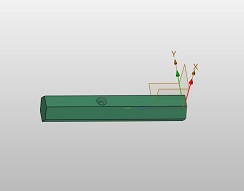
A:Using a setscrew is a common, simple way to hold gears in position on a shaft. In order for this to happen effectively, make sure a small dent is drilled on the surface of shaft (for setscrew to be screwed into). BWTLink provides three free 3D CAD shaft holders -
6mm Round,
5mm Hex, and
7mm Hex - that can be downloaded, printed, and used to help drill this dent on the curved surface of a shaft.
Dipping a bit of blue colored Locttite to the surface of the setscrew will be even better.
Here are some instructions for how to do what is described above:
| 1 | Use Sharpie to mark the location of the dent. |
|
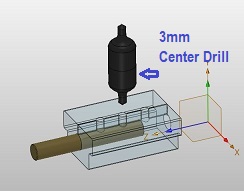
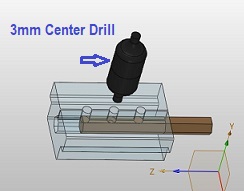
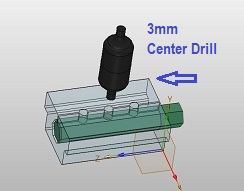
| 2 | Insert the shaft into the specific hole guide; Aim the mark to the center of
the hole of the hole guide; Let the Drill Press' vise hold this guide securely after
aiming the hole to the drill bit; Turn on the power of Drill Press and drill a 1mm depth
dent.
STAY AWAY from using regular drill bits. Center Drill bits
CD-M3 perform much better.
|
|
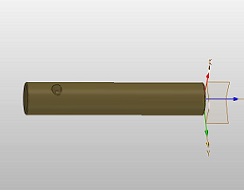
| 3 | This is the final product. |
|
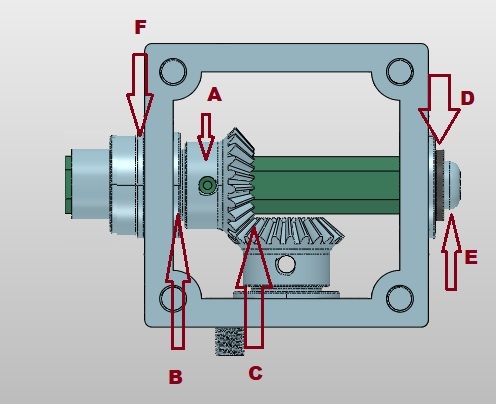 |
- A. the M3 setscrew with the dent on the shaft can hold the gear on the shaft;
- B. a flanged ball bearing can stop the gear and shaft moving to left;
- C. the vertical gear can prevent the horizontal gear from moving to right;
- D. a washer secured by a M4 screw (E) at the end of the shaft can avoid the shaft moving to left;
- F. an extra flanged ball bearing can stop the shaft moving to right when againsting with a M8 spacer secured by a collar or wheel's hub;
*, D ~ F are optional.
|
|